The Project
The Thirty Meter Telescope (TMT) project is a joint venture between scientific institutions in Canada, China, India, Japan and the US to build a 30m diameter Ritchey-Chretien optical infrared telescope.
The large aperture size and field of view, with its adaptive optics (AO) systems, will enable imaging at the diffraction limit, precision astrometry, high contrast imaging and spectroscopy from ultraviolet through to mid-infrared.
TMT will be the world’s most advanced and capable ground-based optical, near-infrared, and mid-infrared observatory. It will integrate the latest innovations in precision control, segmented mirror design, and AO.
Planning is underway to build the telescope on the summit of Mauna Kea in Hawaii, at an altitude of approximately 4200m. An alternative site, the Observatorio del Roque de los Muchachos, La Palma, Spain, is also being considered.
It is hoped science operations will begin in the late 2020s.
The primary mirror at the heart of the telescope is made up of 492 precisely manufactured and aligned individual aspheric hexagonal segments that will work as a single 30m diameter reflective surface. Each segment is 1.44m in diameter.
India’s Role in TMT
The India-TMT group is made up of several Indian astronomical institutes and led by the Indian Institute of Astrophysics (IIA) in Bengaluru. IIA contracted KiwiStar Optics to make the 1.44m reference sphere.
The task of manufacturing the 492 mirror segments that make up the TMT primary mirror is being shared by India, USA, China and Japan, with India set to manufacture approximately 100 segments.
The production process involves Stressed Mirror Polishing (SMP) of circular mirror blanks followed by hex-cutting, and mounting the segments onto a support system.
Through the SMP process, material is precisely removed from a work piece to produce a desired dimension, surface finish and shape. Appropriate stresses are applied to a glass blank, elastically deforming the surface into a sphere. After polishing, the applied stresses are removed and the part springs back into the desired aspheric surface shape.
KiwiStar’s Involvement
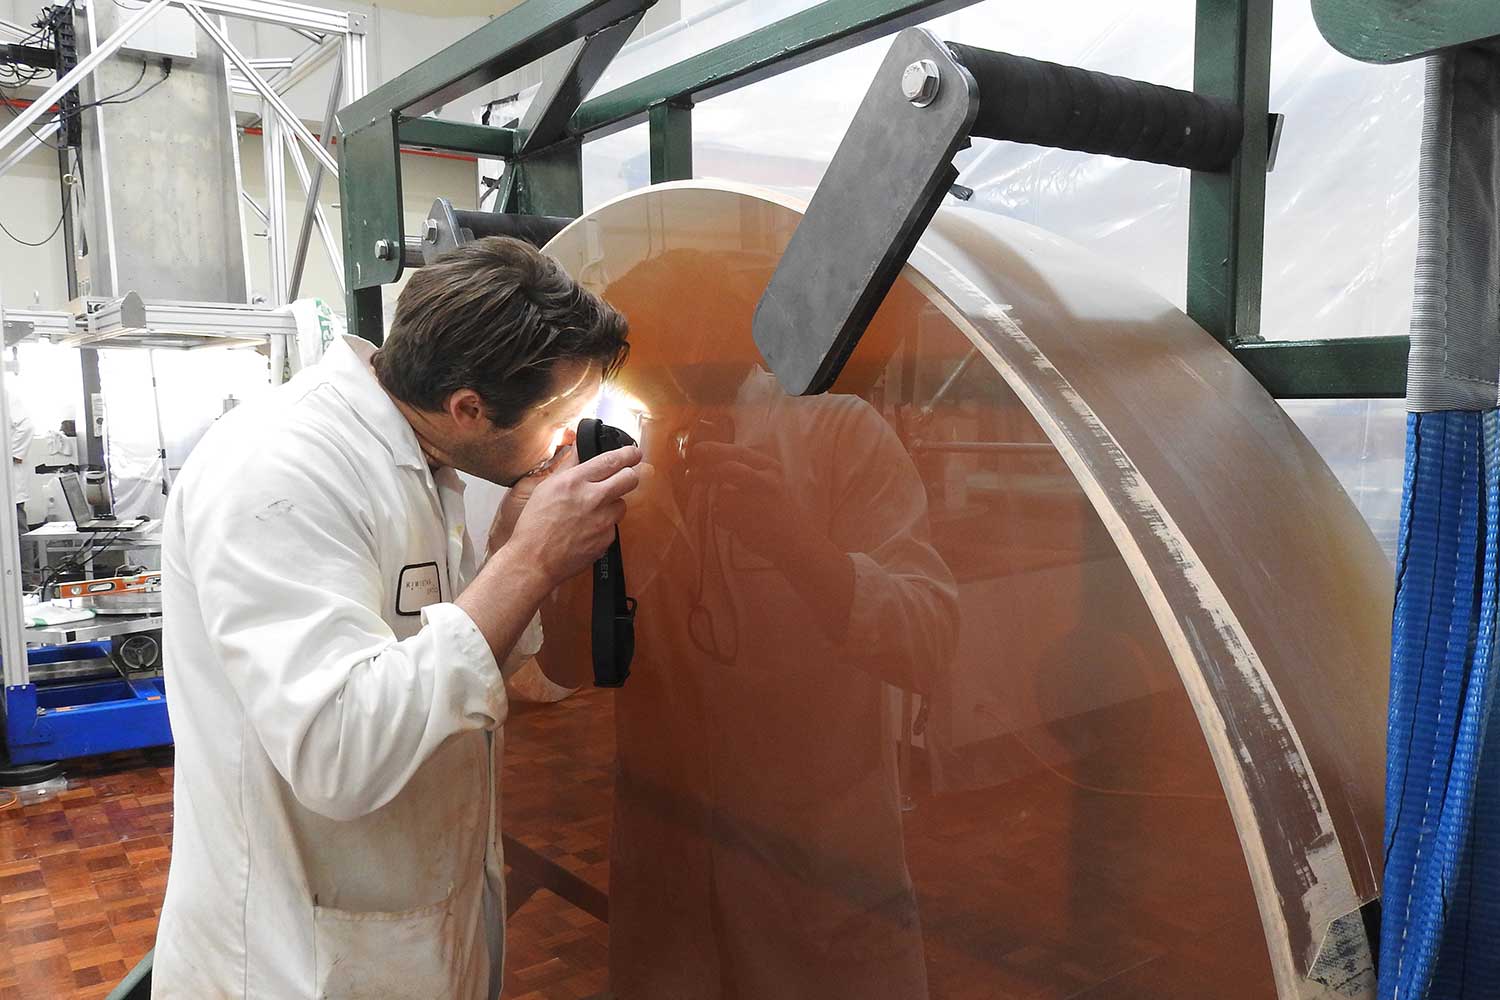
KiwiStar was contracted to deliver the finished sphere to IIA to be used to make in situ measurements of the surface shape of the mirror segments during the SMP process.
Given the large number of segments required for the TMT mirror, IIA’s polishing process needs to be rapid, efficient and cost effective, producing smooth, accurate aspheric surfaces. Additionally, it must be supported by fast, accurate and repeatable metrology that can be used in situ to control polishing. The metrology system for the SMP process involves a 2D profilometer instrument which will be calibrated against the zero-expansion, polished and tested reference sphere.
IIA’s in situ metrology process required KiwiStar’s work on the reference sphere to meet the desired level of accuracy, and perform the necessary testing to ensure IIA can meet its mirror manufacturing specifications.
The required testing of the finished reference sphere included:
- Full aperture interferometric testing (1k x 1k minimum pixels) from the centre of curvature using multiple orientations and rotations to remove mount-induced gravity print-through.
- Measurement of the 61.7m radius of curvature using a laser tracker and interferometer.
- Micro-roughness measurement of the actual surface (or by replication) using 0.5mm maximum pixel size.
The Challenges
There were several significant challenges involved in manufacturing and testing the reference sphere, according to the head of IIA’s optical division, Shri S. Sriram.
“It’s not easy to make this type of reference sphere. From a manufacturing perspective, the large size of the sphere, combined with our stringent specifications made this a challenging project,” he says.
“The high-, mid- and low-frequency requirements were very tight to manufacture to and very challenging over the almost 1.5m diameter.”
Weighing about 1.5 tonne, the sphere was the largest and heaviest precision optical component ever manufactured in Australasia.
“From a testing perspective, there were also significant challenges because, at over 60m, the sphere’s radius of curvature is much greater than most telescope mirrors, meaning measurement and testing was much more complicated.”
Results
Despite the challenging nature of the project, Sriram says KiwiStar delivered on all the required specifications.
“We are completely satisfied and very happy with the manufacture of the reference sphere, KiwiStar’s testing methodology and their cooperation with us throughout the process, and with the performance of the reference sphere,” he says.
“The output of the project has been shared with the TMT US team and they were also happy with the performance of the reference sphere.”
KiwiStar had previously completed a contract with IIA to develop the high-resolution Hanle Echelle Spectrograph (HESP) for the Himalayan Chandra Telescope at the Indian Astronomical Observatory.
“We were also very happy with the results of that project and, based on our very positive experiences with KiwiStar, we are currently in talks about involving them in a future project,” Sriram says.


